Have a lot of spare buttons at home? Want to do something creative out of it? Here we present you a simple yet decorative DIY of making a bowl with buttons and with the help of just a balloon.
These bowls are a lot of fun to make and each one turns out to be unique that you can’t take your eyes off them! Decorate your bedroom, study or play area with these amazing bowls.
Checkout the simple technique of this DIY Button Bowl.
Materials you will require:
- Flat buttons of desired colors and sizes
- Balloons
- White Glue (Elmer’s White glue)
- Mod Podge

- Large Paint brush
- Scissors
- News paper
- Cup to balance the balloon while it dries
Procedure to make the Button Bowl:
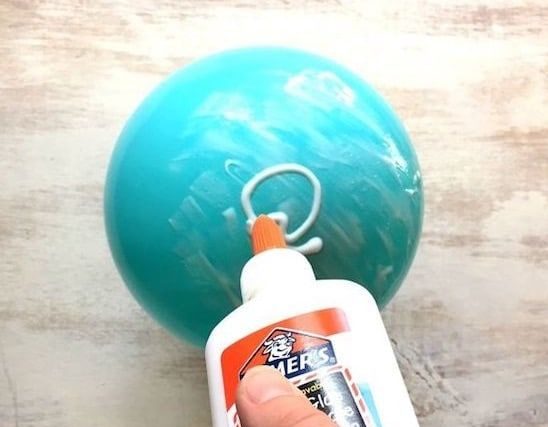
1. Blow up a balloon of the desired size you want your bowl to be made and place it from the knot side, down into a cup or a jar.
2. Cover half of the balloon with glue using a paint brush or you can also use your fingers. Settle the balloon in the jar with the side of the knot so that the glue may have an even coat and not fall off.
3. Let the glue dry up completely, forming a first layer.
4. After the first layer dries, apply a second coat of glue from the top of the balloon coming downwards to the knot.
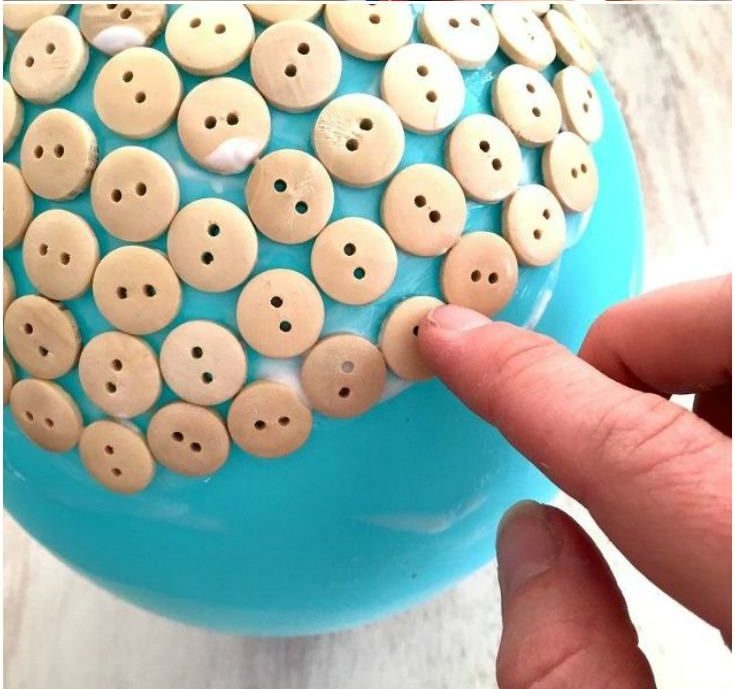
5. Attach buttons to the second layer, place them as much close and fitted as possible. Continue doing this to the second layer until half the balloon is covered with beautiful buttons.
6. Once all the desired buttons have been attached then turn your button covered balloon upside down, so that the knot comes upward this time. This is to keep your buttons intact and prevent them from sliding down the balloon while they dry.
7. Let this layer of glue and buttons dry completely, which will usually take 4 or 5 hours.
8. Once the second layer is completely dry, coat the buttons again with a third layer of glue.
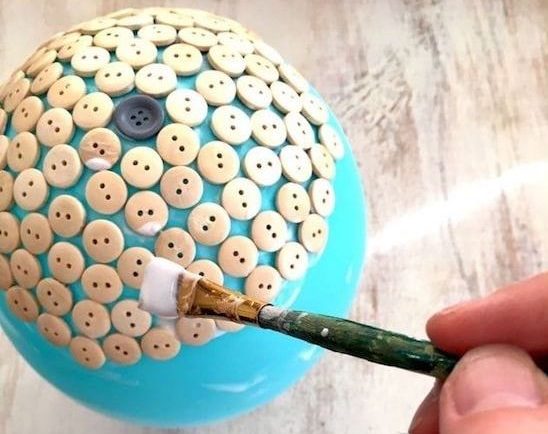
9. Let this layer sit over-night for it’s firmness, you can also apply a fourth layer to make it more stiff.
10. When your button bowl becomes entirely dry, use a scissor and cut the knot of the balloon and slowly let the air out. Use the scissors to snip away the extra glue bits away from the buttons.
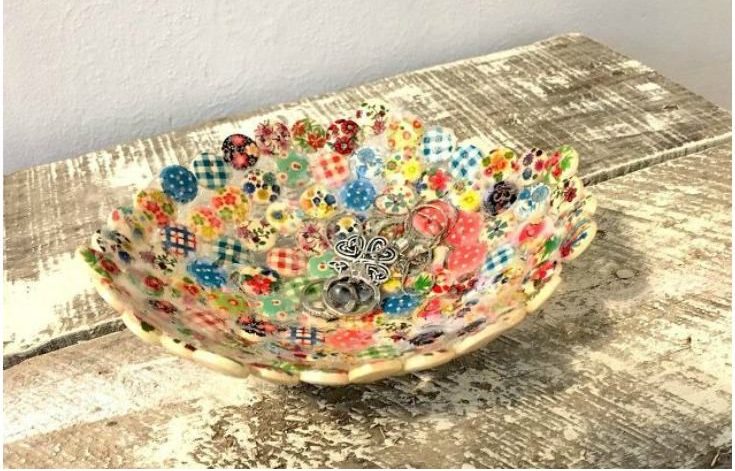
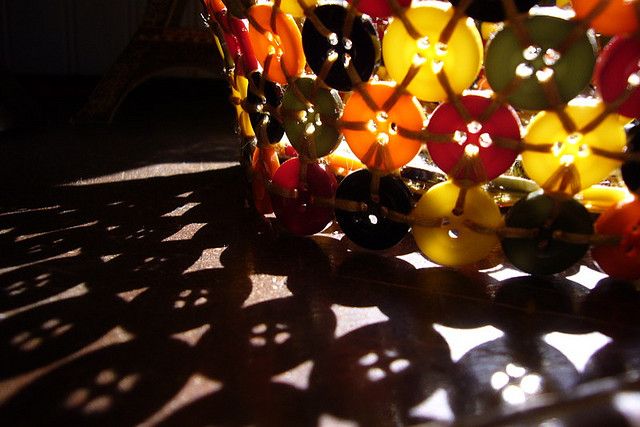
Your DIY button bowl is now Ready. Admire the beauty of your hardwork and patience!
But take a note that these Bowls are ‘NOT WATER RESISTANT’ unless you use a water resistant form of glue. These are for decorative purpose only and should not be used for food.
For more help see the video.